Comic
Fay's Diary Comic
Kanji Transformer Series
Our Android Apps
Paper Toy
Animation
Dharma Cartoon
Figure Photo Collection
Flash Game
Embedded Systems
Old Work
Toy & Gadget
Game & Software
About Us
Links
Ataya's Embedded Systems Blog
Green Tea Story
Play with BeagleBoneBlack
Studio Wallpaper
Studio Wallpaper
The Sky Flower & The Temple Dog
Date : Friday, 25 July 2014
Writer : Ataya P
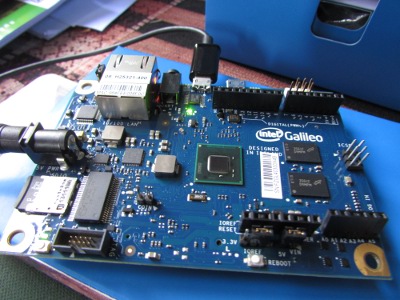
I bought Intel's Galileo board for a while. This time, I will show you how to set up it for Arduino development.
Working Platform :
Lenovo Notebook , Intel Pentium Dual Core T2080 1.73GHz
2Gbyte RAM
Ubuntu 10.04 LTS- the Lucid Lynx
Hardware :
1.Intel Galileo Board :
http://arduino.cc/en/ArduinoCe
2.USB cable to connect between board and PC
Let's do it
1.Download Arduino software from ...
https://communities.intel.com/
2.Connect the board and PC with USB cable then plug in the power adapter.
3.Execute Arduino's IDE, Select File->Examples->01.Basic -> Blink and Upload execute file to the board.
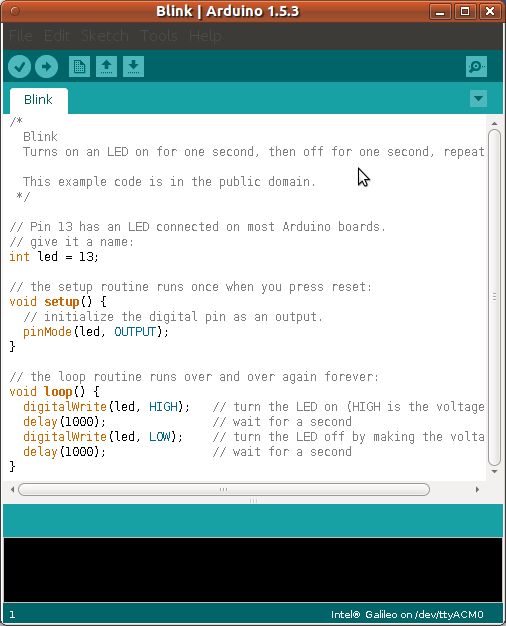
4.Reset the board, the LED will blinking as showns as this below video.

Writer : Ataya P
I bought Intel's Galileo board for a while. This time, I will show you how to set up it for Arduino development.
Working Platform :
Lenovo Notebook , Intel Pentium Dual Core T2080 1.73GHz
2Gbyte RAM
Ubuntu 10.04 LTS- the Lucid Lynx
Hardware :
1.Intel Galileo Board :
http://arduino.cc/en/ArduinoCe
2.USB cable to connect between board and PC
Let's do it
1.Download Arduino software from ...
https://communities.intel.com/
2.Connect the board and PC with USB cable then plug in the power adapter.
3.Execute Arduino's IDE, Select File->Examples->01.Basic -> Blink and Upload execute file to the board.
4.Reset the board, the LED will blinking as showns as this below video.
- ataya_p's blog
- Login to post comments

Custom Search
